Showing posts with label tutorial. Show all posts

Saturday, July 3, 2010

4th of July Centerpiece

Need a quick idea for a 4th of July Centerpiece? Here's a cute one I'm using this weekend for a pool party! Each table has a bucket and 2 pinwheels.
Materials Needed:
Paper
Dowels
Something to put them in
How To:
1-My paper started out as the 9x13 scrapbook paper. Cut this in half on the long side. You can play with this and made them all different sizes. 2- Accordion the paper (like you were making yourself a fan). 3- Then put a staple right in the middle to hold the accordion closed. 4- Now take the 2 opposite ends and pull them together making one half of the circle. Do again with the other side to make a complete circle. I used glue to hold them together and secured with paper clips until it all dried. You could also use double sided tape or staples. 5- Attach your dowel on the back and insert into a vase, bucket, flower arrangement, etc.
*Also looks cute with double sided paper
*Would be super cute for baby shower and Spring Holiday's too

Thursday, June 24, 2010

Hello Summer!- Towel Backpack

The summer version of a backpack?- One that turns into your beach/pool towel!

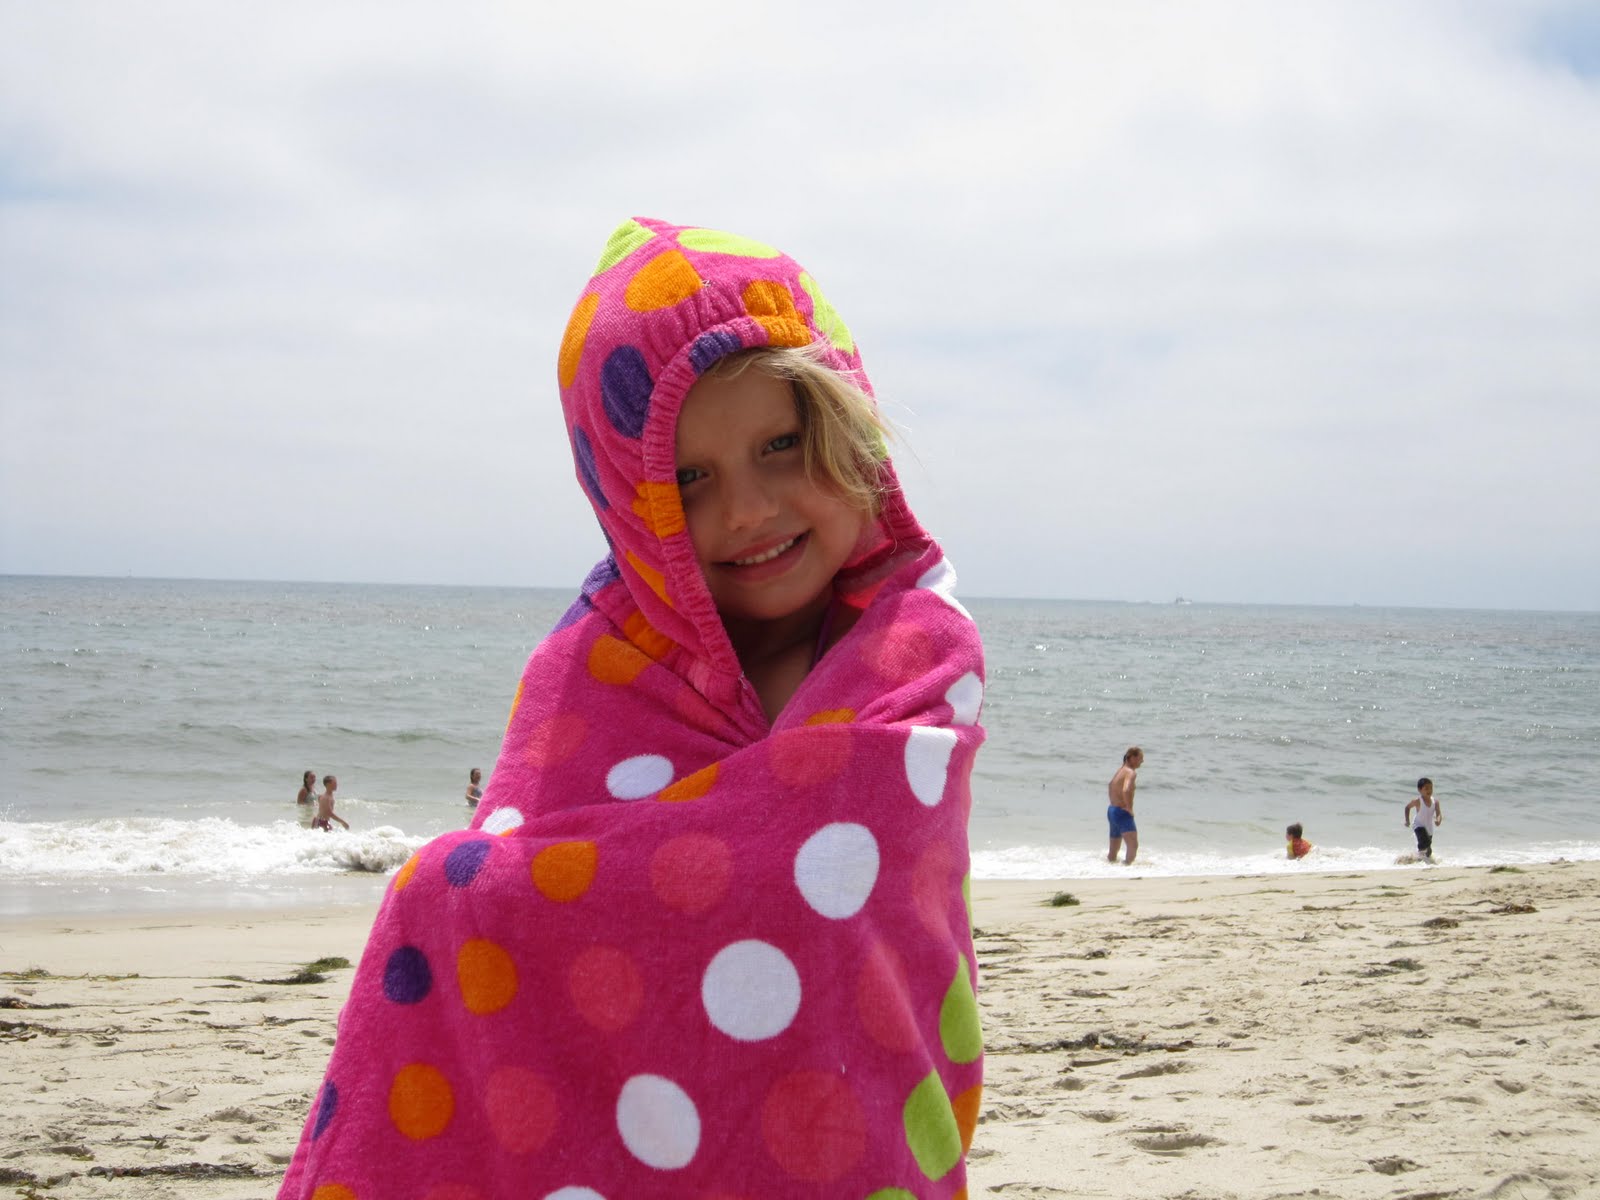
I saw this adorable bag on one of my friends blogs. You know how it goes, you hop from blog to blog. I found this awesome tutorial on "The Train to Crazy" blog and had to run out and make them. I rarely get to make anything for my son, so he was super excited. He's been wearing his "backpack" around non-stop. You can find this tutorial HERE
(and yes, it includes a hood, which my kids just love!)

I LOVE this because by having each kid carry their own towel, leaving me with only my towel which I can throw in my chair, that saves me 1 whole extra bag of towels I would normally be carrying! That's HUGE! Someday when my kids are big and they can all carry their own stuff, it won't be as dramatic, but for now, when I look like a pack mule as we make our way down to the sand, this is huge. I highly recommend this tutorial and project! Super easy, quick, and fun.
**Couple Changes: After making 1 exactly like the tutorial I ended up making a few changes to the next 2. I made the pocket/backpack part 1 inch larger on each side. Also, the straps where the perfect length for my 2 year old, but I had to make them longer for my 5 year old. 30 inches wasn't enough for her. Extended it about 37 inches long. I also added some embroidery and patches, which I thought made them extra cute!
This is just a perfect gift idea too! Already made one for a party last week, and doing another for a party this week!

Favorite Things- Summer Beach Bag

As you may know from past blog posts, I get to go to a Favorite Things party twice a year! Two of my friends host it. How it works is, you bring 5 of your favorite things (all the same item). The item has to be between $5 and $6. Then you swap your 5 with everyone else and everyone goes home with 5 different things. It's so much fun! They do it in December and then sometime in the summer.

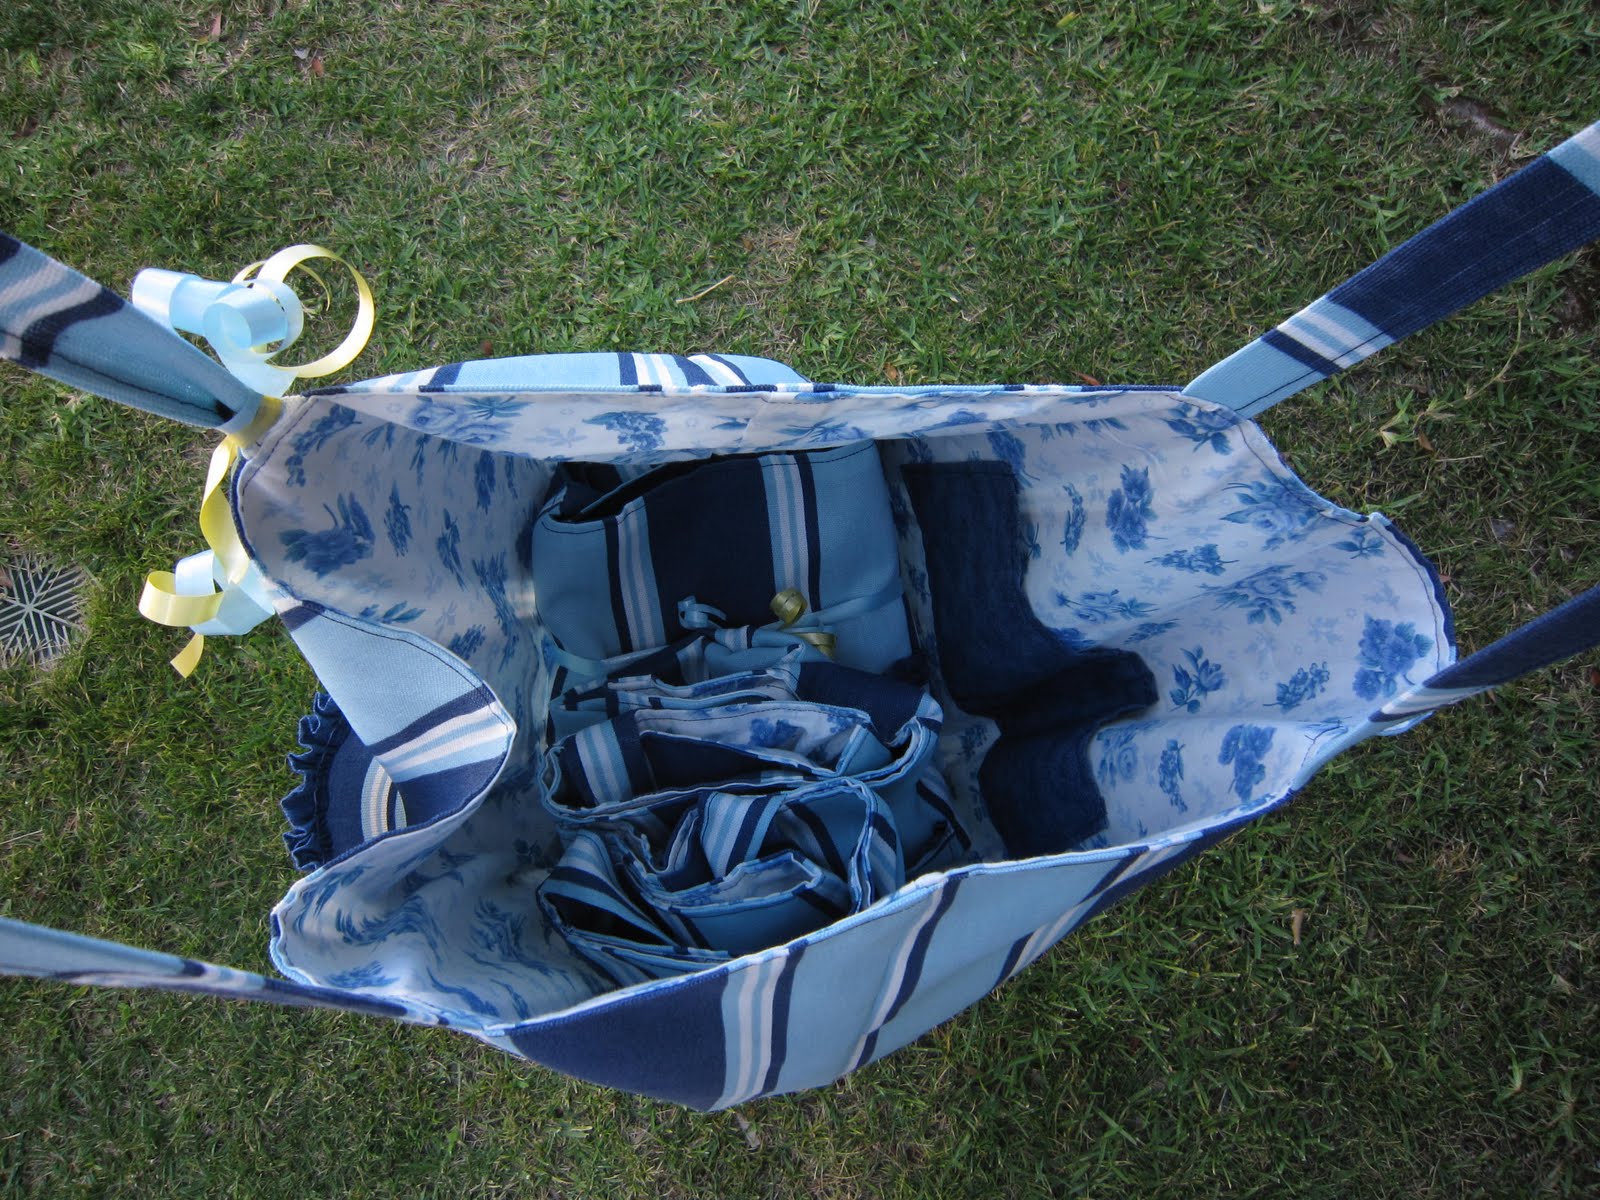
This summer I decided to make a summer beach bag!! I spent all the money on fabric (and had to search all the clearance racks to find anything in my price range). I got a really nice heavy canvas for the outside and a thin cotton flower fabric for the inside. I did an outside pocket and 2 pockets on the inside. I cheated a little since I only made it in the price range with the actual fabric cost and not my time, but it was worth it!

Click HERE to see my past tutorial on how to make this bag. It's completely reversible/lined, and totally professional. I've already seen several of the lucky 5 that got my bag at the party using it! I just love that.

If I could have spent more money I would have padded the arm straps, and added a big white flower on the pocket, or monogrammed the pocket. I do custom orders if you want one!

I folded up all the bags and put inside 1 to take to the party. So fun! Can't wait for the next one!

Teacher Appreciation Present- Lavender Aromatherapy Pillows

Jayne's teachers this year have been so great! Besides going in on the group gift from the class, I thought I'd whip up this little gift with a note that said, "I hope you get a chance to relax now that school's out!".

How To: I used some scraps of warm and natural quilters batting sewn together like a pillow. I left about a 3 inch hole on one side. Flipped it inside out (so finished seams), then filled the pillow with rice and lavender. Fold the fabric of the whole and sew it up. Your insert is now done. Then I just made a minky pillowcase for it. Use a front solid piece, and 2 pieces that overlap in the back (your flap) so that you can get the insert in and out. After finishing the edges of the 2 flaps, put right sides together and sew all the way around. Using your center flap, turn it inside out and it should be all done and ready for the insert.

I added a tag, some candy, and wrapped it up in a cello bag. Happy end of school!

Tuesday, February 9, 2010

The Ruffle Sleeve Top

My friend Wendy came over today and we made 4 of these adorable Ruffle Sleeve tops! 2 for my Jayne, and 2 for her girls. They turned out so cute! Here's a link to the tutorial. And I have to give credit to one of my favorite new sites, Dana Made It! Click on her link. She has some adorable tutorials and great links (like this one). I wish I knew her in real life (not just stalking her blog). I know we'd be friends. :-)

Thursday, August 13, 2009

Tote Bag Tutorial

Tote Bag w/ Lining or Reversible

by Sharyn & Trina

*My mom Sharyn came up with the design, pattern, and technique and taught me. I put together this tutorial so we could teach it to others. It makes a very professional looking bag with perfect finishes. No one will guess you made it :-)

Step 1: Cut lining fabric & outside fabric to 2 equal squares (or whatever size bag you want). Cut out additional pockets if desired and sew onto the squares. Large Tote Bag: 19in x 22in (bag) 4 1/2in Handle Strip, Girl's Tote Bag: 13in x 13in, Small Hand Bag (pictured): 9in x 6in, 2 1/2 in. Handle Strip

Step 2: Cut Strap Fabric
Cut it double the width you want, ex. 2 inch strap, you would cut 4 inches plus 1/2 inch for seam allowance

Step 3: Strap/Handles: Place right sides together and sew down the open seam. Flip it inside out. Iron so it lays flat. Insert cording/boning/padding, if desired and sew across end to enclose it.

Step 4: Place the bag pieces right sides together. Sew around the sides of the bag (leave 1 side open as your bag opening).

Step 5: Corners of bag- Fold the fabric so center of bottom and side seams line up and make a triangle. Measure (3 1/2 inches for big tote bags, 1 inch for small bag) same distance down each side of triangle and draw straight line across w/ disappearing fabric marker). Sew across the line. Cut off the triangle. Do for all 4 corners (2 for inside and 2 for outside bag).

Step 6: Iron the bag and all seams flat down.

Step 7: Put bags right sides together (it looks like one is going inside the other one face down).

Step 8: Insert handles (and any ruffle or rickrack that will poke out the top once flipped)- fold the bag in half on each side to find center and mark w/ pin. Then measure 3 inches on each side of fabric from the center. Mark w/ pins. Put handles in between the bags with the end of the handles poking out at each place you have marked w/ pins. If you are only having 1 handle (as shown), then place them centered with the side seams on either side. Leave about 1/2 an inch of handles poking out so it's more secure. Make sure they are not twisted.

Step 9: Sew all the way around (1/2 inch to 1 inch seam allowance). Leave a hold about 4 inches that you don't sew up.

Step 10: Flip the bag inside out (through the hole you left) so it now shows right sides out. Pull out handles.

Step 11: Iron the top, and fold the fabric where the hole is so that it looks like the rest of the top and it's ready for a seam.

Step 12: Top stitch all the way around the bag (about 1/2 in seam allowance)

Step 13: Reinforce the handles with extra stitches