I got this tutorial at a church craft day. The girl teaching the class got the patterns from a quilt shop somewhere. So I really have no idea where it came from but it works and is super cute. My sister couldn't make it to the class so I promised her I'd put together something for her so she'd have everything to make them too. Here's for you Sis!
**This is a super easy, quick tutorial. I'd estimate you can complete a pair in 30 minutes or less
1- Fabric: You can use any fabric you want, but choose 2 pieces and use the warm and natural batting in the middle. It looks really great if you quilt the fabric (stippling or even rows of lines) together before starting too. If you don't want to quilt it then use a fabric spray adhesive so the fabric will stay together while you sew. I used a very fine/soft corduroy and a matching cotton for these sample shoes.

**Complete all of the instructions below twice- for both shoes (right and left)
2- Cut out your pattern. You can download the pattern
here. There are 2 sizes- 3-6months and 6-12 months.


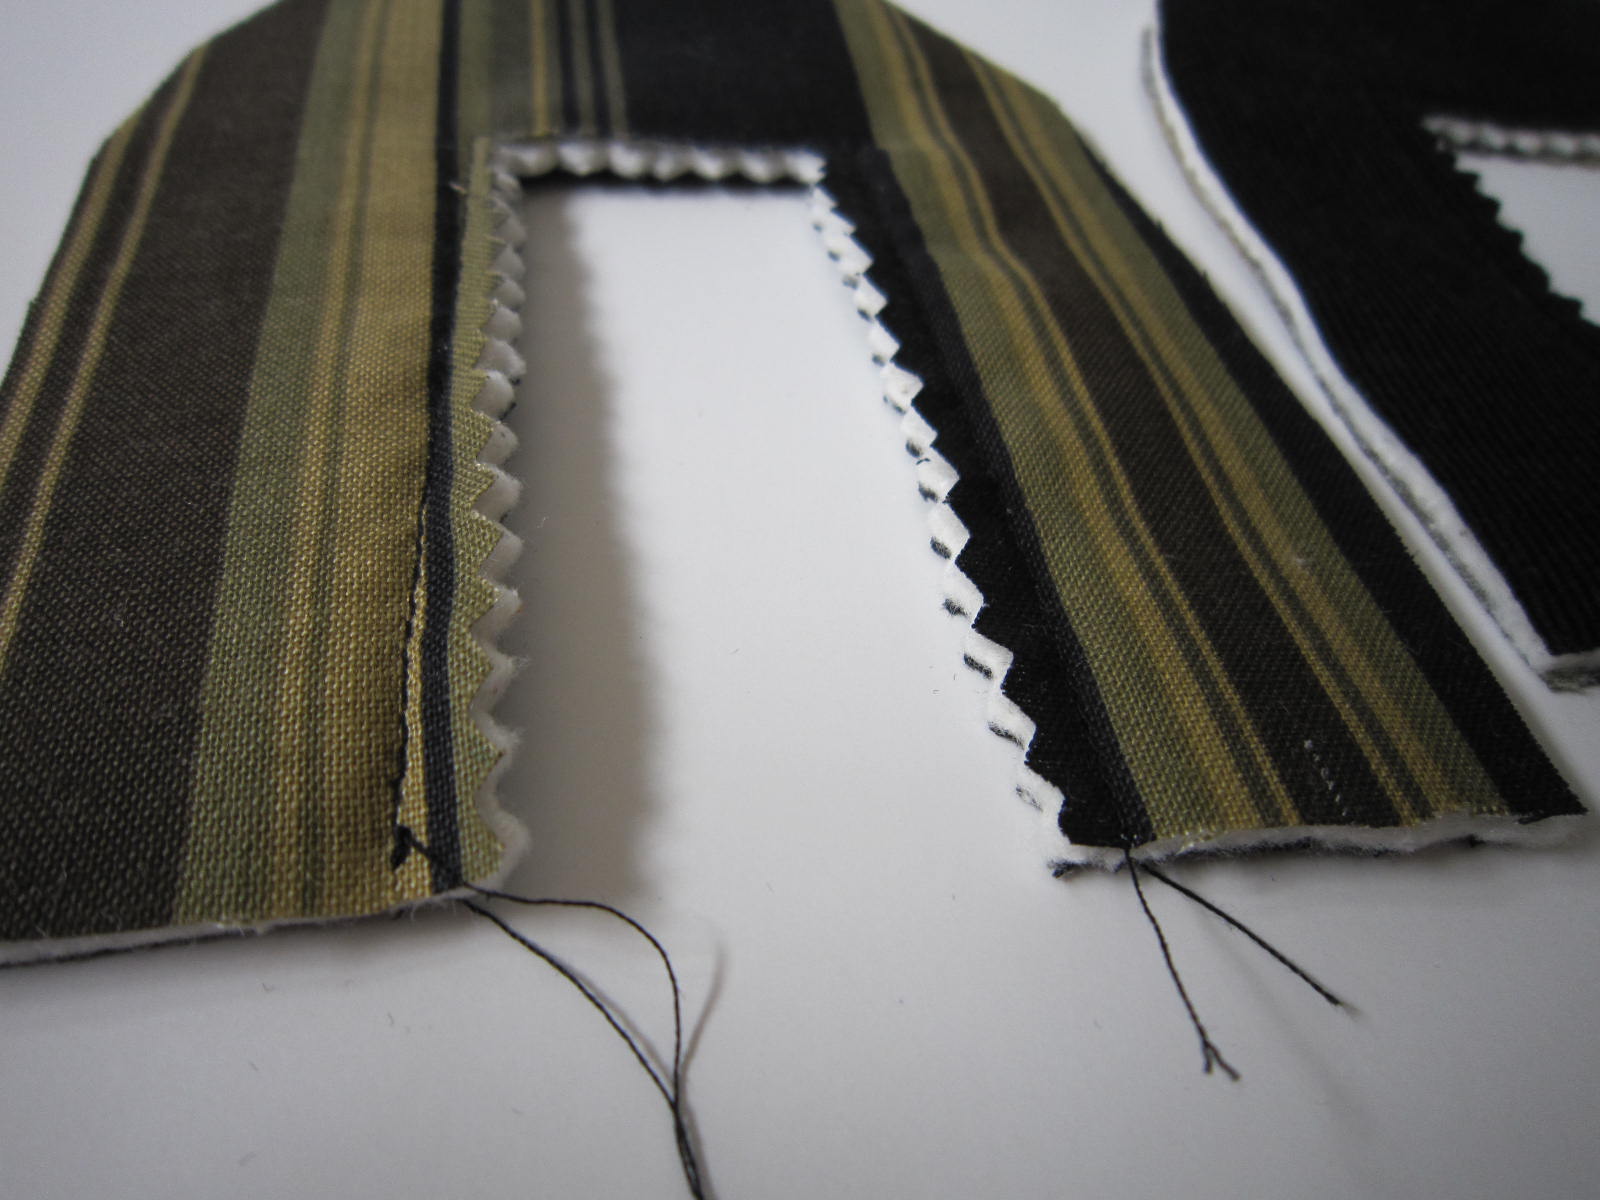
Once you've cut out the outside, then take your pinking sheers and cut the rectangle in the middle. It should look like this when you're done
3- Sew 1/4" seam all the way around the rectangle you cut out with your pinking sheers. this will help keep the fabric from fraying.

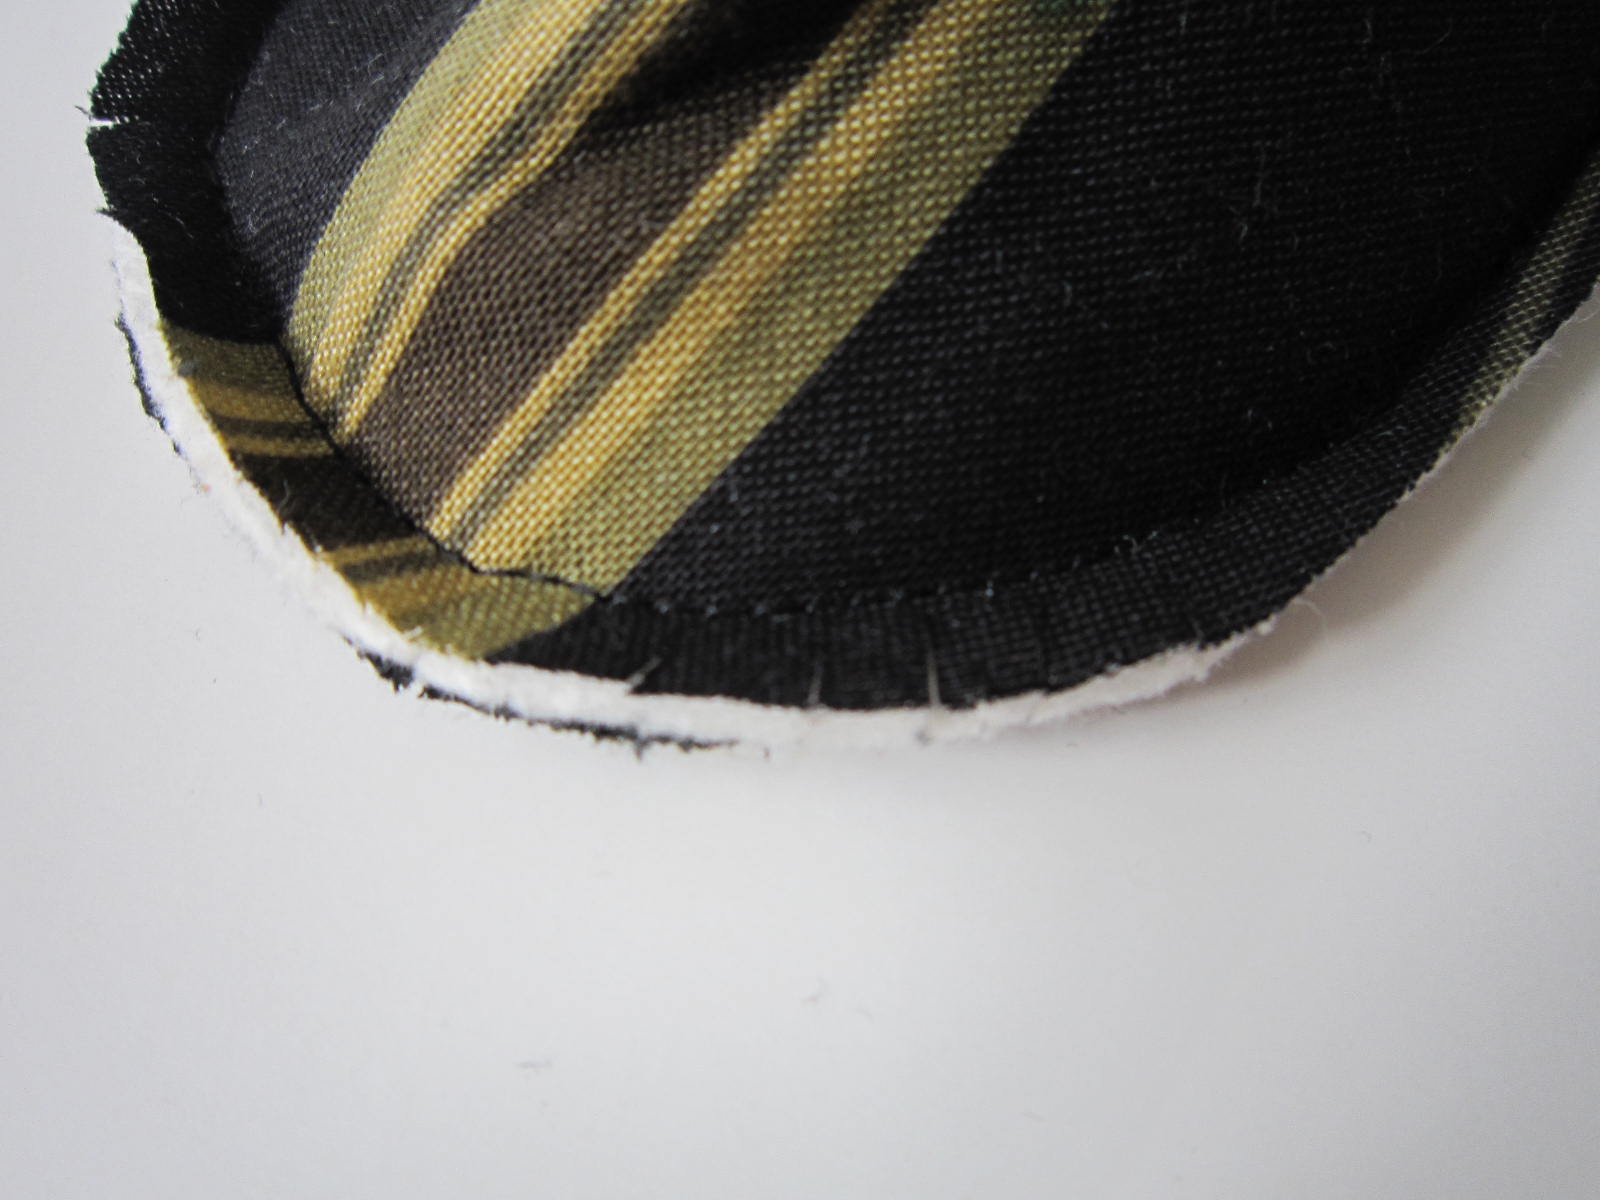
4- Put the back fabric (the heel) right sides together and sew a seam across the back to close up the heel. I want the corduroy on the outside and the cotton on the inside so I put the corduroy right sides together and sewed.

Once you've sewed the seam, then I take the remainder sticking out and push flat and sew another seam along both sides so it stays totally flat and soft.

5- Take the bottom piece of the shoe and you are going to pin it to the top piece of the shoe. You can do a different color bottom (use the lining) and a different color/fabric top or do it all the same. How you pin it together is how it will turn out. You want what you're going to have on the outside at the end (final product), on the inside when you pin it together. This way all your seams are on the inside. Another tip- match up the tip of the toe first, then the heel, then do the sides. It seems to line up better at the end.

6- Now, put it under your machine and sew a 1/4" seam all the way around the shoe. Sometimes I go around it 2 times. When you're done, flip it over and make sure you caught/sewed a good amount of fabric all the way around. Sometimes a few spots can be a little too close and you can go over the area again. Once it's done, clip the corners of the fabric so there's less bulk once you flip it.

7- Now flip the shoe inside out! You're almost done! Told you it was fast!

8- Not you're ready to embellish it! You can add a strap, ribbon, bows, buttons, flowers, etc. I was making these dark corduroy shoes for boys so I was trying to make it more boyish but there are so many options for girls.

9- The easiest way to make an enclosure is to add grosgrain ribbon to each side and tie shut. For the brown pair, I added a little strap of fabric. I sewed it to one side and then attached velcro on the other end and sewed a button on top. I love these!


Super fun baby shoes and so easy! These make great gifts and there are so many fun options!

 I'm finally ready for baby! I got his bedding set and his new quilt done. The boys room is ready to go. Hopefully he'll look like a Kyle so I don't have to re-do his pillow and unpick the name in his quilt! Crossing our fingers for a wonderful delivery! I'm off to enjoy my Babymoon!
 Ryan's new toddler bed. He's using his same blanket and bedding from his baby bed. His quilt was a Triple Irish Chain totally out of minky and then I embroidered some sports theme in the blanket space.
 Kyle's Bed.
 I decided to make him a Trip Around the World blanket (pattern from Quilt In a Day), but do it all in minky fabric. The pattern is simple but doing it with all minky fabric and a silky edge binding is very tricky! It's tough to line up all the squares with fabric that is so stretchy. I think it turned out really good. I love the fun, totally original minky fabrics I was able to find to do this. I just did some simple quilting, stitch in the ditch, on several rows. It should stand the wear and tear of a little boy!